

Table of Contents
- What Soap Scum Is and Why It Forms on Shower Tile
- Supplies and Cleaning Products You'll Need
- How to Remove Soap Scum From Shower Tile: Step-by-Step
- How to Remove Heavy Soap Scum From Shower Tile
- Best Cleaner for Soap Scum on Tile
- Shower Tile Cleaning Tools That Make the Job Easier
- How to Prevent Soap Scum in the Shower
- Tile and Grout Material Compatibility
- Frequently Asked Questions
Last Updated: October 10, 2026
What Soap Scum Is and Why It Forms on Shower Tile
Soap scum forms when soap, shampoo, and body wash combine with hard water minerals, creating a cloudy, filmy residue that sticks to tile and grout. Understanding its cause explains why it's so hard to remove and why prevention matters.
Hard water contains dissolved minerals like calcium and magnesium. When soap mixes with these minerals, a waxy coating forms and bonds to tile surfaces, becoming harder to clean over time. Poor ventilation worsens the problem by allowing moisture to linger and feed the buildup.
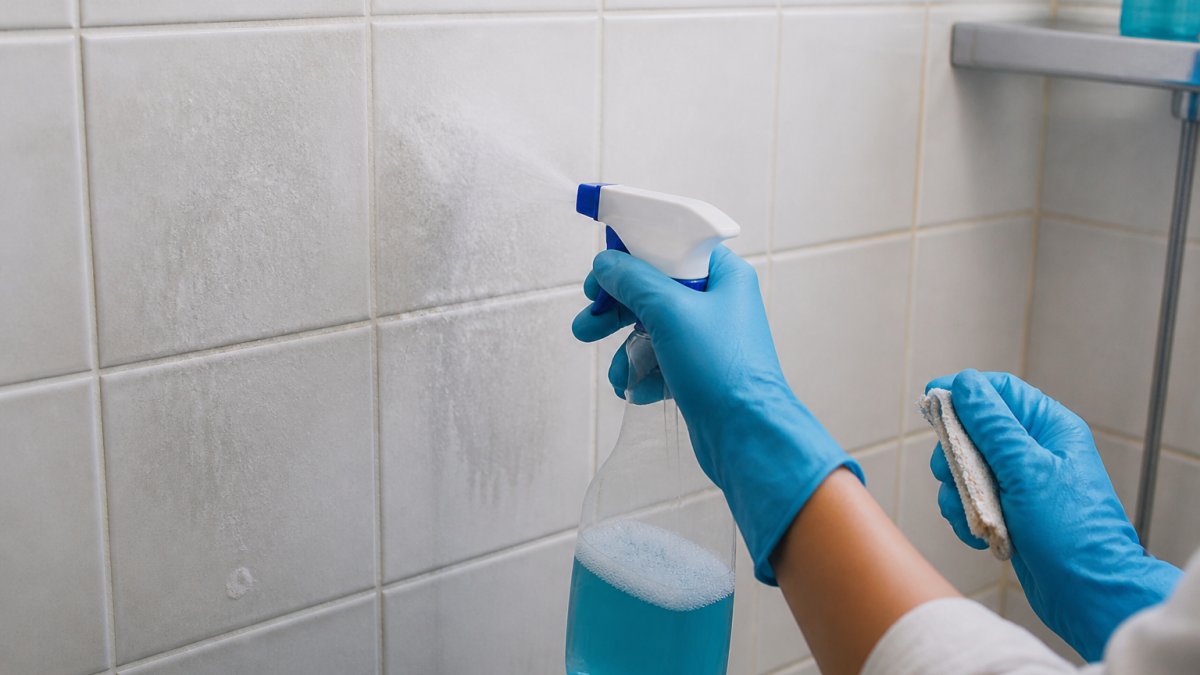
Soap Scum vs. Hard-Water Stains: How to Tell the Difference
Soap scum and hard-water deposits often appear together but require different cleaning approaches. Identifying which you're facing prevents wasted effort and reduces the risk of using an ineffective solution.
Hard-water stains are purely mineral deposits, calcium and magnesium left behind as water evaporates. They appear as white, chalky spots and feel dry and powdery. They respond well to acidic cleaners like vinegar.
Soap scum is a waxy, slippery buildup combining soap residue with minerals. It feels slick and oily and appears as a cloudy film across tile and grout, clinging stubbornly to surfaces.
How to test which one you have: Spray a small area with white vinegar and wait 30 seconds.
Most bathrooms have both problems. Use the test to choose the right cleaner: vinegar alone for mineral stains, vinegar plus dish soap for soap scum, or a specialty cleaner for both.
Fresh soap scum wipes away easily, but months-old buildup requires stronger cleaners and more scrubbing. Regular cleaning prevents the need for harsh chemicals later.
Supplies and Cleaning Products You'll Need
Essential cleaning supplies:
- White vinegar or all-purpose cleaner
- Dish soap or washing-up liquid
- Spray bottle
- Rubber gloves
- Microfiber cloth or soft towel
- Rubber squeegee
- Soft-bristled scrub brush
Optional tools for heavy buildup:
- Baking soda
- Specialty tile cleaner
- Soft sponge or non-abrasive scrubber
The vinegar-and-dish-soap combination works well for routine soap scum: mix equal parts white vinegar and water in a spray bottle, then add a few drops of dish soap. For stubborn buildup, use a specialty tile cleaner formulated to break down soap scum and mineral deposits.
How to Remove Soap Scum From Shower Tile: Step-by-Step
Learning how to remove soap scum from shower tile follows a straightforward process. Most buildup clears with basic tools and patience.
Step 1: Prepare Your Shower and Ventilate
Turn on the bathroom exhaust fan or open a window. Rinse the shower tile with warm water to soften the soap scum and help your cleaning solution penetrate.
Step 2: Apply Your Cleaning Solution
Spray the vinegar-and-dish-soap mixture generously over all visible soap scum, saturating the tile so the solution can work on the buildup.
Step 3: Let the Cleaner Sit
Let your cleaning solution sit for 20 to 30 minutes. This dwell time allows the cleaner to break down soap residue and mineral bonds, reducing scrubbing effort later.
Step 4: Scrub Tile and Grout
Use a soft-bristled scrub brush to work the cleaner into tile and grout with gentle pressure. Pay special attention to grout lines using a smaller brush or toothbrush for tight spaces. Work in circular motions to reach pores and crevices.
Step 5: Rinse and Dry Thoroughly
Rinse tile and grout thoroughly with clean water, ensuring grout lines are completely clear. Dry with a microfiber cloth or squeegee to prevent water spots and hard-water stains.
How to Remove Heavy Soap Scum From Shower Tile
Thick, stubborn soap scum requires a more aggressive approach, but escalating your cleaning method carries risks, stronger chemicals can damage grout, tile, and your health if not used carefully.
A Graduated Approach: When to Escalate and When to Stop
Step 1: Extended vinegar-and-dish-soap treatment. Let the standard solution sit for 45 to 60 minutes instead of 20 to 30, allowing deeper penetration. Scrub gently with a soft-bristled brush. This often solves the problem without stronger chemicals.
Step 2: Baking soda paste for grout-specific buildup. Mix baking soda with white vinegar to form a thick paste. Apply to grout lines and let sit for 15 to 20 minutes.
Step 3: Specialty tile cleaner with extended dwell time. If gentle methods haven't worked, use a commercial tile cleaner formulated for heavy-duty bathroom cleaning. Follow product instructions and allow 30 to 45 minutes of dwell time before scrubbing.
Step 4: Non-abrasive power tools. A cordless electric spin scrubber applies consistent rotating pressure without manual force, reducing the risk of over-scrubbing and tile damage. Use the lower speed setting first and increase only if needed.

When to stop and accept repair: If buildup remains after two applications of specialty cleaner plus power-tool scrubbing, the deposit may be permanent staining or grout damage. Continuing to scrub risks scratching tile or weakening grout.
Safety: Cleaner Combinations and Ventilation
Never mix cleaning products, especially bleach with acids or ammonia, this creates toxic chlorine gas (the CDC). Rinse thoroughly between products. When using specialty tile cleaners, turn on the exhaust fan and open a window, leaving ventilation running for at least 30 minutes. Wear rubber gloves and avoid touching your face. If you feel dizzy, experience throat irritation, or notice a strong chemical smell, stop immediately and get fresh air.
Material-Specific Cautions for Heavy Buildup
Natural stone tile (marble, limestone, granite): Do not use vinegar or acidic cleaners, acid etches and dulls natural stone permanently. Use only pH-neutral cleaners or specialty stone cleaners. Avoid abrasive scrubbers and power tools; use a soft cloth only.
Grout: Porous grout absorbs soap scum deeply. Extended scrubbing weakens grout and can create gaps where water infiltrates. For heavy buildup, use a baking soda paste or specialty grout cleaner, not abrasive scrubbers. Grout sealing after cleaning prevents future buildup from bonding as deeply.
Best Cleaner for Soap Scum on Tile
The best cleaner depends on your water hardness and buildup severity. Soft water responds well to vinegar solutions; hard water benefits from cleaners that target mineral deposits.
Cordless Electric Spin Scrubber – 8 Brush Heads & Adjustable Handle →
Vinegar-based cleaners work best for routine maintenance, they're affordable, non-toxic, and effective on fresh soap scum. All-purpose bathroom cleaners handle both soap scum and light mineral buildup for weekly cleaning. Specialty tile cleaners target heavy buildup and work well for stubborn deposits or quarterly deep cleans. Baking soda pastes work well for grout-specific buildup and suit natural stone tile, which can be damaged by acidic cleaners.
Test any new cleaner on a small, hidden area first to prevent discoloration or damage, especially on natural stone.
Shower Tile Cleaning Tools That Make the Job Easier
The right tools reduce effort and improve results. A soft-bristled brush handles routine cleaning and reaches corners and grout lines easily. A microfiber cloth removes cleaner residue better than paper towels and dries tile faster, preventing water spots. A rubber squeegee removes standing water in seconds and prevents soap scum buildup when used after every shower.
A cordless electric spin scrubber like the Cordless Electric Spin Scrubber with 8 brush heads saves significant time on heavy buildup. The rotating brush head applies consistent pressure without manual effort. Its adjustable handle reaches high walls and low floors without bending or stretching. Two speed settings let you choose gentler motion for delicate tile or faster rotation for stubborn soap scum.
For grout lines, an old toothbrush or small detail brush works perfectly. These reach tight spaces that larger brushes can't access.
A soap dispensing cleaning brush combines cleaning liquid storage with scrubbing. This tool keeps your cleaning solution at hand while you work, reducing trips back to your spray bottle.

How to Prevent Soap Scum in the Shower
Prevention is easier than removal. A few simple habits stop soap scum from building up in the first place.
Squeegee the shower after every use. This removes standing water where soap scum forms. A quick pass with a squeegee takes 10 seconds and prevents weeks of buildup.
Improve ventilation. Turn on the exhaust fan during and after showers. Leave the fan running for 20 minutes after you finish.
Reduce soap residue. Use less soap and shampoo. Rinse thoroughly after each product. This decreases the amount of soap available to mix with hard-water minerals.
Wipe down tile weekly with a damp cloth. This removes fresh soap residue before it bonds to the surface.
Consider a water softener if your water is very hard. Soft water produces less soap scum because fewer minerals are available to react with soap.
Use bar soap alternatives. Liquid body wash can reduce soap scum in some cases.
Apply a protective coating designed for tile. These products create a barrier that resists soap scum buildup. Reapply every few months for best results.
Tile and Grout Material Compatibility
Different tile materials require different cleaning approaches. Using the wrong cleaner can damage or discolor your tile.
Ceramic tile handles most cleaners well. Vinegar, all-purpose cleaners, and specialty tile cleaners all work safely on ceramic. This is the most forgiving tile type for aggressive cleaning.
Porcelain tile is durable but can be damaged by abrasive scrubbers. Use soft-bristled brushes and avoid steel wool. Most chemical cleaners are safe for porcelain.
Natural stone tile like marble, limestone, or granite requires gentle care. Acidic cleaners like vinegar damage natural stone. Use pH-neutral cleaners or specialty stone cleaners instead.
Grout needs special attention. Acidic cleaners can weaken grout over time. For regular cleaning, use gentle methods.
Test any cleaner on a small hidden area before applying it to visible tile. This prevents damage to valuable or delicate surfaces.
Avoid mixing cleaners. Combining vinegar and bleach, for example, creates toxic fumes. Stick to one cleaner at a time and rinse thoroughly between products.
| Tile Type | Best Cleaner | Avoid | Tool Recommendation |
|---|---|---|---|
| Ceramic | Vinegar, all-purpose cleaner | Steel wool | Soft-bristled brush |
| Porcelain | Specialty tile cleaner | Abrasive scrubbers | Microfiber cloth |
| Natural stone | pH-neutral cleaner | Acidic solutions | Soft cloth only |
| Grout | Baking soda paste | Harsh acids | Detail brush |
Keeping shower tile clean doesn't require expensive products or hours of scrubbing. Tools like a cordless electric spin scrubber or a soap dispensing brush make the work faster and easier.
Frequently Asked Questions
How do I know if what I'm seeing is soap scum or hard-water deposits?
Soap scum appears as a white, waxy, or cloudy buildup that forms where soap and minerals combine. Hard-water stains look similar but are purely mineral deposits left by water. Both can coexist on shower tile. The key difference: soap scum has a greasy feel and comes from soap residue mixed with minerals, while hard-water deposits are purely mineral. Your cleaning approach works for both, though soap scum may need a slightly longer dwell time to break down the oily residue.
Will vinegar or acidic cleaners damage my shower tile?
White vinegar is safe on most ceramic and porcelain tiles, but avoid it on natural stone like marble or limestone, which can etch. For ceramic and porcelain, vinegar works well and is affordable. Always patch test in a small, hidden area first. If you have natural stone, use a pH-neutral cleaner instead. The combination of white vinegar and dish soap is effective on standard bathroom tiles without causing damage when used as directed.
How long should I let a soap scum cleaner sit on tile before scrubbing?
For light to moderate soap scum, let your cleaning solution sit for 10 to 20 minutes. For stubborn, heavy buildup, allow 20 to 30 minutes. Don't let it dry completely, the surface should still be wet when you scrub. Longer dwell times help the cleaner break down the soap residue and mineral deposits, making scrubbing easier and more effective. Check the tile occasionally; if it's drying, spray more solution.
What's the best way to prevent soap scum from building up again?
Prevention starts with ventilation and drying. After each shower, wipe down tile and walls with a squeegee or microfiber towel to remove excess water and soap residue. Run your exhaust fan during and for 20-30 minutes after showers to reduce moisture. Consider a daily shower spray designed to prevent buildup, spray it after you shower and let it air dry. Regular light cleaning every 1-2 weeks prevents heavy buildup, so you'll never need deep scrubbing again.